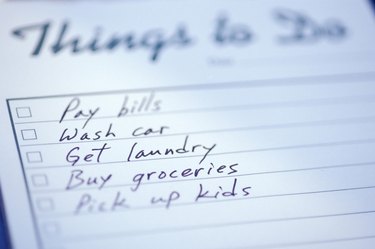
Use a solid preparation checklist before beginning a project and you'll never forget to perform mission-critical tasks. Checklists consisting of check boxes are some of the most important items you'll find on documents, Web pages and forms. If you use OneNote to manage information, you can create checklists by adding to-do items to any page. Create simple checklists or use OneNote's formatting tools to make them look more professional. You can also search for to-do list templates you can insert into your OneNote notebook.
Create Checklist
Video of the Day
Step 1
Open an existing OneNote page or create a new one.
Video of the Day
Step 2
Click a location on the page where you want the checklist to begin.
Step 3
Click the "Home" tab and click the "To-do Tag" button in the ribbon's Tags section. OneNote adds a check box at the page location you clicked.
Step 4
Type the text you'd like to appear next to the check box. For instance, if one task is to get milk, type "Get Milk" next to the check box.
Step 5
Press "Enter" to create a new check box below the one you created and type the text you'd like to appear next to that check box. Repeat these steps to create as many checklist items as needed.
Add Heading and Border
Step 1
Click "Draw" and click the Rectangle shape in the ribbon's Shape section.
Step 2
Click a point above and to the left of the checklist's first check box. Hold down your left mouse button and drag down toward the right to draw a rectangle around the checklist.
Step 3
Click a point slightly above the rectangle near its left edge and type an optional heading for the checklist. OneNote places the text inside a new note. Click the note's top border, hold down the left mouse button and drag the heading if you'd like to center it above the border.
Step 4
Highlight the text and a menu appears. Click the menu's Styles icon and then click "Heading 1" to turn the text into a heading.
Use Checklist Template
Step 1
Open a OneNote page or create a new one.
Step 2
Click "insert" and then click "Page Templates."
Step 3
Click "Templates on Office.com" and type "to do" or "checklist" in the search box. Press "Enter" to search for OneNote to-do list or checklist templates. Browse through the list of search results and click a template that interests you to view details about it. Click "Download" followed by "Accept" and follow the instructions to open the template in OneNote.