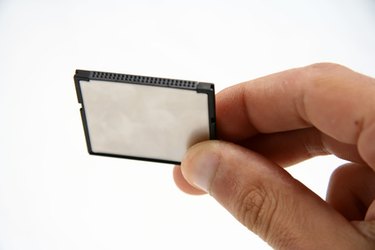
Making Windows boot from a Compact Flash (CF) card is useful for installing Windows on computers that lack a traditional optical disc drive, such as most netbook style laptop computers. The process to make the Windows installation bootable from a CF card involves preparing and formatting the CF card, then copying the Windows installation files from the original Windows disc to the CF card. Upon completion, the bootable CF card can be used to install Windows on any computer, not just netbooks.
Step 1
Insert the CF card into a card reader directly connected to the computer. Networked card readers, such as those found in wireless printers, will not work.
Video of the Day
Step 2
Click the "Start" button and type "cmd" without the quotes.
Step 3
Right-click "Command Prompt" and click "Run as Administrator."
Step 4
Type "diskpart" and press the "Enter" key.
Step 5
Type "list disk" to view which disk number represents the CF card. In most cases, it will be disk "1."
Step 6
Type "select disk 1", substituting "1" for your actual number. Press "Enter."
Step 7
Type "clean." Press "Enter."
Step 8
Type "create partition primary." Press "Enter."
Step 9
Type "select partition 1." Press "Enter."
Step 10
Type "active." Press "Enter."
Step 11
Type "active." Press "Enter."
Step 12
Type "format fs=ntfs." Press "Enter."
Step 13
Type "assign." Press "Enter."
Step 14
Type "exit." Press "Enter."
Step 15
Insert the Windows installation disc into the optical drive and wait 15 seconds. Type "D:" and press "Enter." If your optical disc drive uses a different letter, enter that instead.
Step 16
Type "cd boot." Press "Enter."
Step 17
Type "bootsect.exe /NT60 E:" where "E:" represents the drive letter of your newly formatted CF card.
Step 18
Click the "Start" button and click "Computer."
Step 19
Copy the entire contents of the Windows installation disc from the disc to the CF card.
Step 20
Boot the target computer from the CF card to begin the Windows installation.
Video of the Day