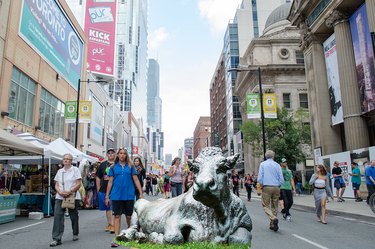
Merging two photos is something you can easily do in Microsoft Paint in Windows 8.1 -- or it can be quite difficult, depending on what kind of effect you want to achieve. Creating a split-screen effect is one of the easier options, which puts two photos together either side-by-side or one on top of the other. Adding an inset photo into a larger background photo is also quite easy. You can even add a border around the inset to ensure that there's a clear distinction between two photos.
On the more difficult end of the scale is pasting an inset into a photo with the inset's background removed. This is something that is ordinarily done using advanced graphics apps like GIMP, Paint.NET or Photoshop. Paint can also do insets with transparent background, but it requires a steady hand when tracing the object you want to use.
Video of the Day
Video of the Day
Creating a Split-Screen Effect
Step 1
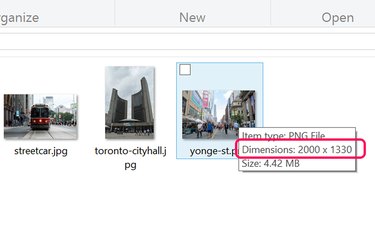
Locate the photos you want to merge in File Explorer. Since you will resize one photo to fit neatly into the other, you need to compare their dimensions. Hover the cursor over a photo file to see its dimensions: these are measured in pixels, with the horizontal size listed first. If you are merging the photos side-by-side, make a note of the largest vertical dimension. If you are merging the photos vertically, then make a note of the largest horizontal dimension.
Step 2
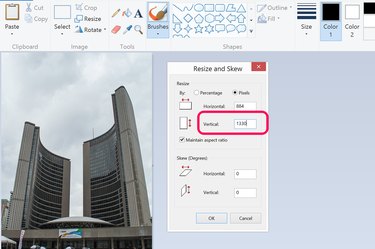
Open the smaller image in Paint. Click the "Resize" icon in the Ribbon. Click the "Pixel" option and change either the vertical or horizontal dimension to match the other photo's size. Make sure the Maintain Aspect Ratio option is selected and click "OK." Press "Ctrl-A" and then "Ctrl-C" to select the entire image and copy it to the clipboard.
Step 3
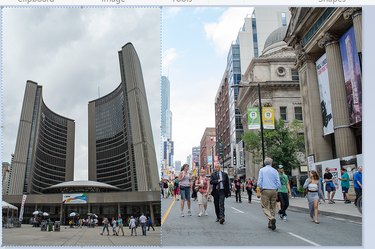
Open the larger photo in Paint. Press "Ctrl-V" to paste the photo you copied onto this photo. Drag the pasted photo to move it. Use the Resize option in the Ribbon to resize the pasted image if needed.
Note that if you accidentally paste a large image onto a small image in Paint, the canvas is automatically resized, resulting in a white border. While you can move and resize a pasted image directly after inserting it, once you make other changes, like selecting a paint tool, the pasted image can no longer be edited independently of the background.
Creating an Inset Image With a Border
Step 1
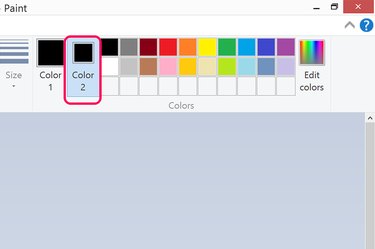
Open a photo in Paint that you want to use as an inset in another photo. This should be smaller than the background photo. Click the "Color 2" icon in the Ribbon and select a color from the Colors palette to use as a frame around the inset image. If the color you want isn't already in the Ribbon, click "Edit Colors" to select any color you want.
Step 2
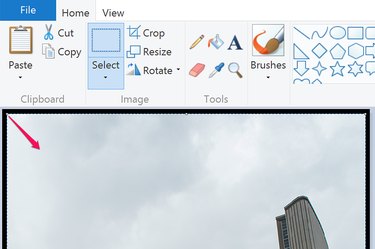
Press "Ctrl-A" to select the entire image and then click the "Resize" icon in the Ribbon. Click the "Percentage" option and change the size to "95" percent. Click "OK" and then drag the image into the center of the canvas so that the background forms a border around the photo. Press "Ctrl-A" to select the changed image and "Ctrl-C" to copy it to the clipboard.
Step 3
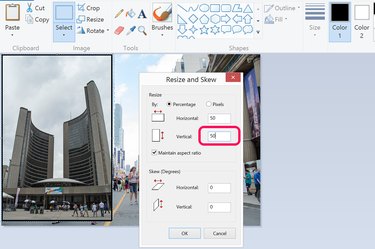
Open the photo you want to use as the background image in Paint. Press "Ctrl-V" to paste the framed inset image into it. While the inset image is still selected, click the "Resize" icon and reduce the image size as needed. Drag the inset to wherever you need it in the background.
Using a Transparent Selection as an Inset
Step 1
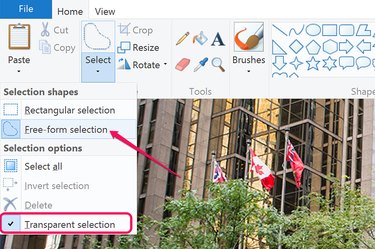
Open a photo in Paint that contains an object you want to use as an inset. Click the small arrow on the "Select" icon. Click the "Transparent Selection" option in the drop-down menu and then "Free-Form Selection."
Step 2
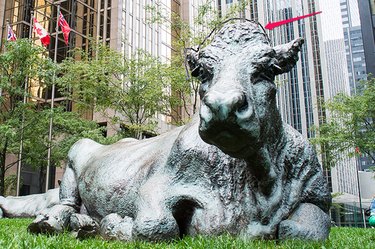
Drag the cursor around the object to completely encircle it. This can be a challenging procedure, requiring care and patience. If you make a mistake, you'll have to start over again.Get as close to the object's edges as you can. Once you have traced around the entire object, release the mouse button. Press "Ctrl-C" to copy the selection. While the lasso you drew appears to change into a rectangle, only the part you circled is copied to the clipboard.
Step 3
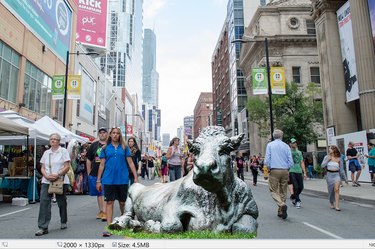
Open a background image in Paint and press "Ctrl-V" to paste the inset onto this photo. Drag the inset to move it or resize it as needed using the Resize option in the Ribbon.