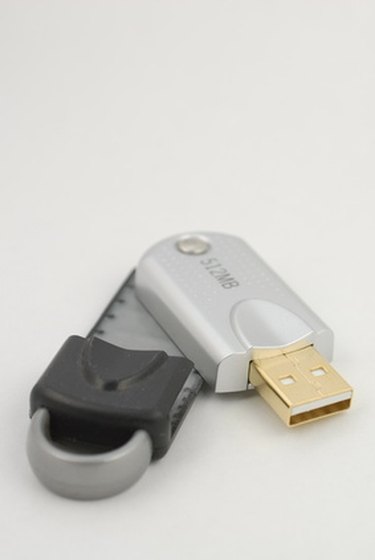
Flash drives are an easy and convenient way to save data. They can hold anything from documents to photos and video files. They are small, lightweight and portable, making them a popular choice for both business and personal use. The downfalls to these handy storage devices are that they are easily misplaced, and it can be difficult to remember what is stored on them. Learn how to organize your flash drives to avoid these potential pitfalls.
Step 1
Create a color-coding system for your flash drives. For example, you might decide that all drives containing photos will be red, all drives containing videos will be blue and all drives containing documents will be green.
Video of the Day
Step 2
Use a permanent marker in the appropriate color to label each flash drive with a number, beginning with 1 and continuing until all of the drives in each category have been labeled.
Step 3
Place each flash drive in your computer, one at a time, and use an index card to make a list of the contents of the drive. At the top of the index card write the color and number for the corresponding flash drive.
Step 4
Using the same markers used to label your flash drives, color code card file dividers and place the color-coded divider into an index card file box.
Step 5
Place each completed index card in numerical order behind the appropriate divider in the index card file box to create an inventory of your flash drives.
Step 6
Place each flash drive that has been color-coded and indexed into a small plastic storage basket near your computer. Use a separate basket for each color in your system, so all of the blue drives will be in one basket and all of the red drives in another.
Video of the Day