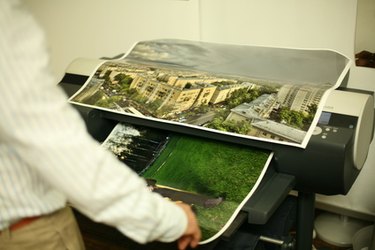
When you need to print a document or an image that is way bigger than the paper in your printer, one solution is to break the document up into separate "tiles" that, once they are all printed out, can be taped together so that the larger image is visible. This isn't the most professional solution in the world, but it can save you time and money in a pinch. It's an easy task to perform if your software supports it.
Step 1
Double-click the desktop icon for the printing software you wish to use to launch it, or click "Start," then "Programs," and select your printing software from the programs list.
Video of the Day
Step 2
Click "File," then "Open." Navigate to the folder on your computer where the large document is stored, click the document to select it, then click "OK." The document should now open in the printing software's main window.
Step 3
Click "File," then "Print."
Step 4
Click the drop-down menu next to "Page Scaling" and select "Tile Large Pages" if you wish to print pages that are larger than printing paper (8.5" x 11") across multiple sheets while printing normal-sized pages on single sheets. Select "Tile All Pages" if you wish all pages to be printed across multiple sheets, regardless of page size.
Step 5
Click the text box next to "Tile Scale" and enter a larger value to scale each tiled page up, or enter a smaller value to scale each tiled page down. The default value is 100 percent.
Step 6
Click the text box next to "Overlap" and enter the number of inches (in decimal format) that you wish each tile in a page to overlap other tiles.
Step 7
Check the box next to "Cut Marks" if you wish guidelines for trimming to be added when the page is printed.
Step 8
Check the box next to "Labels" if you wish each sheet to be printed with its file name and page number.
Step 9
Click "Print," and the document will be sent to your printer for printing.
Video of the Day