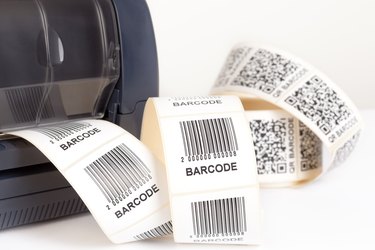
Printing your own labels can make mailing a lot easier, helping you save time and get more done. Fortunately, it is easy to print your own labels using only a word processing program, a set of labels and your favorite HP printer.
Step 1
Open up Microsoft Word, click on "Tools" and then "Letters and Mailings." Choose "Envelopes and Labels" from the menu, then click the "Labels" tab.
Video of the Day
Step 2
Check your box of labels for the label number. Microsoft Word has templates for all kinds of Avery labels, so if you have a choice, be sure to purchase that brand. If you do purchase a different brand of labels, look on the box for an Avery equivalent number. This is what you will use to set up the labels.
Step 3
Change the type of label by clicking on the "Label" panel in the lower right hand portion of the window. A new window will open up with a list of labels you can choose. Choose the appropriate label number and click "OK."
Step 4
Place the labels in the printer, then type the text into the box at the top left hand corner of the window then click "Print." Your labels will now be sent to the printer.
Video of the Day