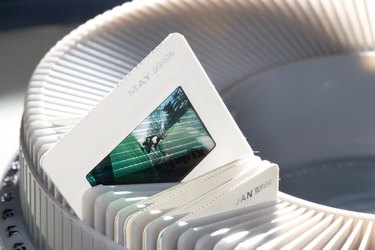
Business presentations seldom revolve around printed transparencies now that high-resolution LCD projectors are available, but transparencies still have a number of uses both at home and at work. Printing on plastic is not much different from printing on paper, but there are a few quirks to be mindful of.
Printing on Plastic vs. Paper
Video of the Day
There are a couple of key differences between transparencies and paper, one of them affecting inkjet printers and one affecting laser printers.
Video of the Day
The first is that plastics aren't porous. With paper, the ink absorbs slightly into the paper's fibers, but with a transparency, it pools up on the surface. When you switch from paper to transparencies, you need to change Paper Type in your printer settings so that your printer knows how to manage its ink. When set for transparencies, it uses less ink and waits longer between pages so the ink can dry at least slightly before a new page comes through.
With laser printers, the problem is one of heat. Laser toner is fused to the paper using heat, but using heat to transfer an image to plastic is problematic — and messy — if the plastic melts. Transparencies for laser printers are made from a special heatproof acetate that won't melt or warp under the heat of the fuser unit. Searching "transparency paper for laser printer" turns up several potential suppliers and shows you a range of price points.
Before Printing on an Inkjet
Transparencies intended for use on an inkjet printer usually come with a special cleaning page inside the package. You run this sheet through your printer first to clean the print head and printing path of any smeared-on ink that might smudge your transparency.
Next, run a finger over your transparency. One side is smooth, and one side is slightly textured. The textured side is the one you print on. Some printers need that side facing up, and others want it facing down, so if you're not sure, you should test it with a piece of paper.
Printing Transparencies on an Inkjet
Now that you're prepared for transparency printing, load your document or image file. Choose Print from the program's menu, and then — depending on the program — Print Settings or Printer Options. Click the pull-down menu for Paper Type and change it to Transparency if that option is available. Depending on your printer and its driver, it may also be described as Clear printer paper or Specialty paper.
Print your document as you normally would, but don't be in a hurry to pick it up from the output tray. The ink may need as long as a minute or two to dry before it's handled. If you have multiple transparencies to print, allow a minute or two between pages or pick them up carefully from the underside and transfer them to a safe resting spot to dry.
Printing Transparencies on a Laser Printer
Laser printers are less finicky with transparencies because they don't use liquid ink. You still need to go into the printer settings to choose transparencies as your paper type because the printer uses less toner for a transparency. Again, when the transparency finishes printing, don't be in a hurry to remove it from the output tray. In this case, it's because they are hot from the printer's fuser unit.
Because they don't need drying time, you can print multiple pages at once. The only limitation is your printer's paper-handling abilities. Start with just a few transparencies in the sheet feeder and increase the number if your printer seems to handle them well.
Special Purpose Printing
Transparencies are often used for special purposes, such as creating a graphic for screen printing purposes. Before you start, take the time to research any additional requirements your specific task poses. With screen printing, for example, you get the best results printing in black or a solid, dark color, and you should avoid fine lines in your designs. It's also best to print your image in reverse, so it's easier to cut the actual stencil.