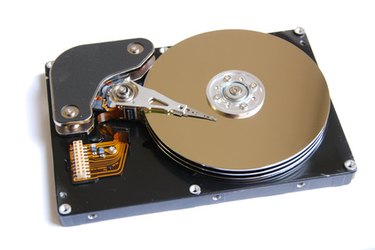
A cyclic redundancy check error on a hard disk means that part of a file read from the hard disk doesn't match the expected value. A cyclic redundancy check error, in other words, means that files on your hard drive are corrupted. Repair a cyclic redundancy check error on a hard disk using the Check Disk tool in Windows.
Step 1
Click "Start" and click "Computer."
Video of the Day
Step 2
Right-click the hard disk with the cyclic redundancy check error under "Hard Disk Drives" and click "Properties."
Step 3
Click the "Tools" tab at the top of the hard disk "Properties" window.
Step 4
Click "Check Now" under "Error Checking."
Step 5
Select "Automatically Fix File System Errors" and "Scan for and Attempt Recovery of Bad Sectors" in the "Check Disk" window by clicking each option if it isn't already selected.
Step 6
Start a disk check and repair by clicking "Start" in the "Check Disk" window.
Step 7
Click "Yes" if the "Do you want to schedule the disk check to occur the next time you restart the computer?" prompt appears. A disk can't be checked if it's in use, so you'll need to restart Windows to check it.
Step 8
Restart your computer by clicking "Start," clicking the arrow icon to the right of "Shut Down" and clicking "Restart."
Video of the Day