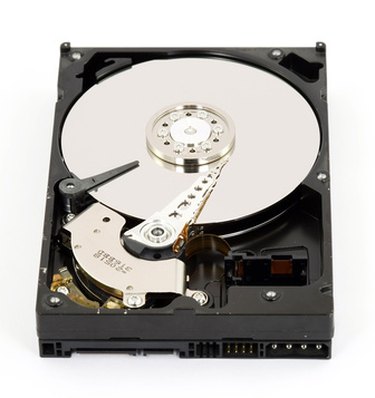
CHKDSK is a command used on Microsoft Windows operating systems to check the hard disk for errors. It displays the file system integrity status and can repair errors relating to bad sectors, lost clusters, cross-linked files and directory errors. There are three different ways to run the CHKDSK command: from the command prompt, through My Computer or from the Windows Recovery Console (XP only). NTFS is the preferred file system for Microsoft Windows operating systems and the CHKDSK command can be used to repair any NTFS-partitioned disk. You have to be logged in as an Administrator in order to perform CHKDSK.
Instructions: Running CHKDSK using command prompt
Video of the Day
Step 1
In XP, click on the "Start Menu" then on "Run." In Windows Vista/Windows 7, click on the "Start Menu," then type "run" in the "Search programs and files" box and press "Enter."
Video of the Day
Step 2
Type "cmd" and click "OK" or "Enter." This will open a command prompt.
Step 3
Enter the following command: "chkdsk C: /f /r" (Do not type the quotes.)
(The above command assumes the drive letter is C:, if the drive letter is, for example, G, then the command would be: "chkdsk G: /f /r")
Instructions - Running CHKDSK using My Computer (Graphical Interface)
Step 1
For all Windows operating systems, double click on the "My Computer" icon and right click on the drive you would like to check (e.g. C:). Select "Properties" and then "Tools."
Step 2
Under "Error-checking," click "Check Now." In order to both repair errors and locate bad sectors, select the "Scan for and attempt recovery of bad sectors" check box. Click "Start" to perform CHKDSK.
Step 3
If a message is displayed stating:
"The disk check could not be performed because the disk check utility needs exclusive access to some Windows files on the disk. These files can be accessed by restarting Windows. Do you want to schedule the disk check to occur the next time you restart the computer?"
Click "Y" and reboot your computer to run CHKDSK.
Instructions - Running CHKDSK from Recovery Console (XP only)
Step 1
Place your Windows XP installation CD into your CD/DVD ROM drive and boot from CD. To do this press, "F12" when the BIOS screen loads. When prompted, press any key to boot from CD.
Step 2
The Recovery Console will load (this may take a few minutes). When the screen "Welcome to Setup", is displayed press the "R" key.
Step 3
A prompt will be displayed asking "Which Windows installation would you like to log into?" Numbered options will be shown, and the default will be: "1: C:\WINDOWS." If you want to select the C: drive, type "1" then "Enter." When prompted, enter the Administrator password for your computer. If you do not have an Administrator password simply press enter.
Step 4
From the command prompt, type: "chkdsk /r" and allow CHKDSK to run uninterrupted. When it is complete, remove the CD and reboot the computer. Any errors found should have been repaired.