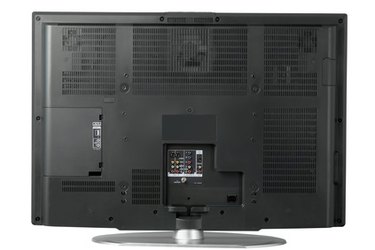
The LCD TV works by allowing a filtered light system in the back of the display to generate images seen on the screen. However, if the "back-light" becomes damaged or stops working, owner can be left with a very expensive paperweight. Instead of purchasing a new television, the backlight can be replaced in a few steps.
Step 1
Unscrew all the screws from the back of the LCD TV. The number of screws will vary depending on the model, however, the screws will generally be found around the borders of the back casing. Gently lift the back panel off the monitor and remove any metal sheeting found underneath in order to expose the internal components of the TV.
Video of the Day
Step 2
Locate and remove the backlight from the LCD. The backlight will be the long thin tube in the clear plastic casing. In a well-ventilated area, use a dremel tool to carefully cut into the end of the plastic casing nearest the end where the tube's lead connectors enter the plastic case.
Step 3
Heat the area where the tube's wires enter the plastic casing with a blow dryer. Once the glue that holds the wires in place is hot enough, carefully pull the wires and the tube free. Use extreme caution when handling the backlight tube as the presence of mercury vapor can cause a health risk if the tube is damaged. Make sure you perform this step in a well-ventilated area.
Step 4
Unscrew the reflector strip and remount the new backlight just as the old one was that you removed in Step 3. Refasten the reflector strip to the monitor and then reassemble the LCD TV's outer case by screwing it back into place.
Video of the Day