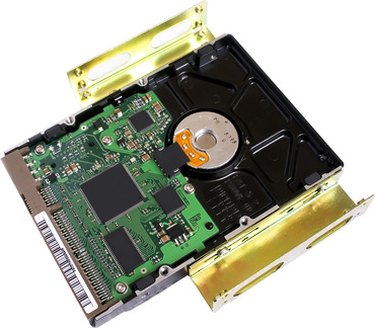
The SMART function on your computer monitors your SATA hard drive to let you know if it is at risk of failing. This software detects bad sectors on your hard drive and repairs them when you initiate a repair. You can use the Disk Utility on your Apple computer to repair the SMART errors on your hard drive. The Disk Utility has an easy to use interface so even a novice can perform this task.
Mac
Video of the Day
Step 1
Insert your OSX install disc into the computer's optical drive. Start the computer while holding down the "C" key.
Video of the Day
Step 2
Choose your language from the menu that appears.
Step 3
Click the "Installer" tab and then click "Open Disk Utility" form the menu,
Step 4
Click the "Disk Utitlity" icon from the menu and then click the "First Aid" tab at the top of the menu.
Step 5
Click the "Repair Disk" button and wait for the repair to complete.
Step 6
Restart your computer.
Windows PC
Step 1
Click the "Start" button and then click on the "Computer" option.
Step 2
Right-click on your SATA hard drive and then click the "Properties" button. Click on the "Tools" tab and then click the "Check Now" button.
Step 3
Click on the box next to "Automatically fix file system errors" and then box next to "Scan for and attempt recovery of bad sectors.
Step 4
Click the "Start" button.
Step 5
Restart your computer after the scan and repair have finished to clear your SMART error.