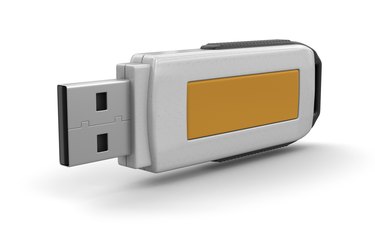
USB memory sticks give you a convenient way to move files from one machine to another or to take your data on the go. Additionally, they provide a simple solution for backing up important projects; saving pictures to a USB stick as well as to your network or local hard drive ensures those pictures survive any minor computer disasters. You can save images to a USB stick either directly or through drag-and-drop functionality.
Save Directly to USB
Video of the Day
Step 1
Connect your USB drive to an empty USB port on your computer. The device may take a few moments to initialize or install drivers; check the Computer entry in Windows Explorer ("Windows Key-E") or the Devices entry in Finder ("Apple Key-F") to verify that the drive is showing up and ready to use.
Video of the Day
Step 2
Click "File" and then "Save As" in your photo application or image editor. In the Save As dialog box, select the USB drive as the save destination. You may need to click "Computer" to see a list of active drives on your computer.
Step 3
Click "OK" to save the file directly to the USB drive. If you choose the basic "Save" option after selecting the USB drive as the save destination, the file will automatically update on the USB drive.