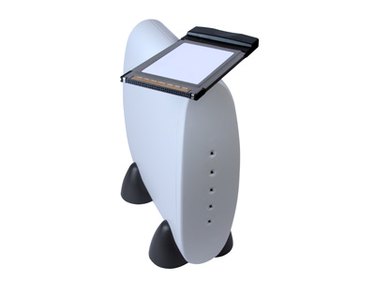
Wi-Fi networks are everywhere: public libraries, bookstores, coffee shops, hotels, schools and your best friend's apartment. Wireless devices outnumber those that need to be connected via cord to the Internet. Learning to switch your device from Ethernet to wireless, whether from home or in public, will give you greater mobility and more convenient access to the World Wide Web.
Step 1
Enable a router. If you want to enable wireless for home use, you will need a wireless router to make Internet signals available to devices without wires. First, unplug your modem. Connect your router to your modem through an Ethernet cord. Turn on your DSL or cable modem by plugging it back in.
Video of the Day
Step 2
Configure your router. Exactly how to do this depends on the type of router you purchased. Follow the instructions within the router's user manual. If you do not have a user manual, you will be able to find one for your specific router online. While configuring your router, you will assign a name and password to your network.
Step 3
Unplug and disable your Ethernet connection from your computer. If using a Mac, go to "System Preferences," find the "Internet & Wireless" section and click on "Network." If on a PC using Windows, click on "Connect To" in the "Start" menu. Make sure you disable your Ethernet connection and that you enable your wireless connection.
Step 4
Find a wireless network. If a list of networks does not automatically pop up, click on the wireless icon either in the top or bottom menu bar. From here, you will see a list of available wireless networks to choose from. Select the name of the network you want to connect to.
Step 5
Enter the network password. If you are using a public network, you will not need a password and will be able to connect automatically. Once you have entered the password correctly, you can start surfing the Web.
Video of the Day