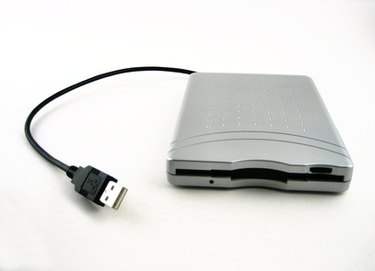
External hard drives are physical storage devices which can hold digital information in the form of files. Digital photograph files are often stored on external hard drives as a way to safeguard them against accidental deletion, and storing photographs on external hard drives can save memory space on the hard drive of a laptop or desktop. Transferring photographs to external hard drives is a simple process, but it requires that a set of procedures be orderly followed.
Step 1
Plug the external hard drive into your laptop or desktop computer. Most external hard drives do this through a cable connecting the hard drive to the USB outlet on a computer. Plug your external hard drive into a wall outlet if it receives power from an AC adapter rather than your computer.
Video of the Day
Step 2
Click on the "My Computer" icon on your desktop, and open the external hard drive. It will be located under the USB connecting drive, which is labeled with a letter ranging from "E:" to "K:".
Step 3
Open the folder on your external hard drive where you would like to save the photographs. Create a folder if one is not present. Move this window to the bottom right corner of your screen to be used in future steps.
Step 4
Open the folder on your home computer where the files are being stored that you wish to transfer to the external hard drive. These may be on the desktop, in "My Documents" or elsewhere in your computer. If you are unsure where they are located, you can always search for them by file name by going to "Start" then "Search."
Step 5
Right-click on the photo file, and select "Cut."
Step 6
Click on the window showing your hard drive files to bring it into use on the screen. Right-click on the white space in the window where you would like to transfer the files, and select "Paste." Your files have now been deleted from their original location and transferred to your external hard drive in the folder you selected.
Video of the Day