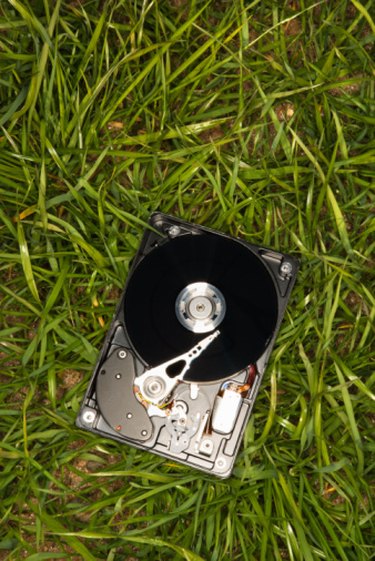
You can wipe the hard drive clean on any computer by running a specialized, secure erase software package that is designed to remove all programs and data. Most hard drives contain deleted files that can easily be recovered using forensic software. Erase all deleted areas of the drive and overwrite the entire drive with a random or secure pattern of information that leaves no trace of any files or settings. You can run several popular software packages that offer military-strength secure wiping of hard drives.
Active@KillDisk Hard Drive Eraser
Video of the Day
Step 1
Download the "Active@KillDisk Hard Drive Eraser" software from http://www.killdisk.com. Install it on the target computer that contains the drive that will be wiped clean.
Video of the Day
Step 2
Back up any important files on the drive or create a system image disk.
Step 3
Launch "Active@KillDisk for Windows." Click the check box next to the drive to be erased. Click "Kill" on the toolbar or press "F10" to continue.
Step 4
Click "Start" to erase the drive using the default method or make changes to the settings as desired. Click "Start."
Step 5
Type "ERASE-ALL-DATA" with all capital letters and include the hyphens. Click "OK." Click "Yes" on the confirmation dialog box. All software and files will be deleted and the operating system will need to be loaded from a system recovery disc or operating system disc to boot the computer.
Iolo DriverScrubber
Step 1
Download the "Iolo DriveScrubber" software from http://www.iolo.com/ds/3. Install it on any computer that has a CD or DVD burner or a floppy disk drive installed. Do not create a floppy disk if the computer that is going to be erased does not have a floppy disk drive.
Step 2
Back up any important files on the drive that is going to be erased or create a system image disk of the entire computer.
Step 3
Launch the DriveScrubber software. Click "Start" next to the "Create DriveScrubber Boot Disk" option.
Step 4
Click the type of drive that the disk will be created on. Click "Next" to continue. Select the actual drive that will be used. Click "Next." Click "Exit" to finish the operation after the disk has been created.
Step 5
Place the boot disk in the computer that is going to be erased and restart the computer. Press "Enter" if prompted to boot to the CD/DVD drive.
Step 6
Enter the license number provided with the software. Press "Enter" to proceed. Use the up and down arrows to highlight the installed drives in the computer. Press the space bar to select the drives that are to be erased. Press the space bar again to deselect a drive if necessary.
Step 7
Press "Enter" to proceed. Use the up and down arrows to select a wiping method. Press "Enter" to proceed through the next screen or make any desired changes to the advanced options. Press "Enter."
Step 8
Hold down the "Ctrl" key, the "Alt" key and the "Shift" key, and press the letter "W" once to begin the drive wiping operation when prompted. All software and files will be deleted, and the operating system will need to be loaded from a system recovery disc or operating system disc to boot the computer.
- Active@KillDisk: User’s Guide
- Iolo: DriveScrubber Web Help
- Active@KillDisk: Hard Drive Eraser
- Iolo: DriveScrubber: Are You Giving Away Sensitive Data when you Sell or Discard your PC?
- Dell Support: How to Restore or Reinstall Microsoft Windows on a Dell Computer
- Microsoft at Home: How to Back up Files and Recover Data