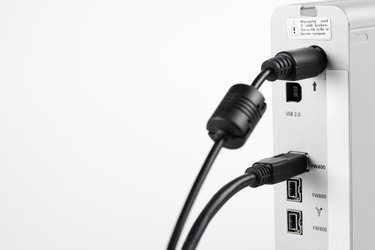
External hard drives, such as those made by Seagate, provide a way to back up important data and media stored on your computer. However, there isn't much point in storing all of this data if you can't access it. That's what happens when a hard drive is set to "read only" mode. That means you can look at the information stored on the drive, but you can't add or remove data. The good news is you can change your Seagate hard drive from "read only" without the help of a service technician. All you need to do to is reformat the hard drive.
Windows
Video of the Day
Step 1
Access the Start menu on your computer and locate the "My Computer" or "Computer" icon. Using the mouse, right-click on the icon and select "Manage" from the list of options in the window.
Video of the Day
Step 2
Click "Disk Management" in the left side of the window. It will be located under "Storage." Wait for a new window to appear listing all of the drives currently connected to your computer.
Step 3
Right-click on the drive listed as "Seagate" in the list of options and select "Quick Format" from the list of formatting options.
Step 4
Click "OK" when prompted to complete the reformatting of the hard drive. The Seagate hard drive will be completely reset to its factory specifications, and it will no longer be in read-only mode.
Macintosh
Step 1
Click the "Finder" icon in the menu bar of your Mac. Click "Utilities" from the list of options and then select "Disk Utility" from the drop-down menu. A list of drives connected to your Mac will appear in a window.
Step 2
Hold down the "Control" key and click on the drive listed as "Seagate." Locate the "Partition" tab at the top of the window and click on it. Select "1 Partition" from the list of options. Click the "Option" tab in the window and select "Apple Partition Map Radio Button."
Step 3
Click "OK" and then click "Apply." Click "Partition" when prompted by the computer. The Seagate hard drive will be reformatted on your Mac and reset to its original settings; it will no longer be in read-only mode.