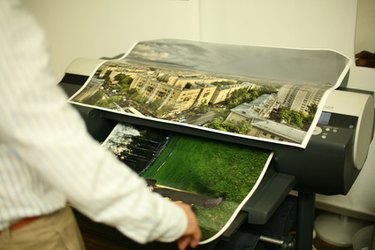
Many PDF files can be too large to print on a whole sheet of paper, making tiling the print out very useful. Printing a PDF file as tiles can be extremely convenient, offering a way to successfully print sizable files. Tiling requires some extra work in order to fully assemble the printed file but it does not take long to learn. Printing larger PDF files in tiles can also save money due to the fact that larger, unbroken, whole sheets of paper cost much more than the standard cost of 8.5 in x 11 in. sheets.
Step 1
Open your PDF with your choice of PDF reader and click "File," then "Print." Wait for a new menu that will appear on the screen.
Video of the Day
Step 2
Choose "Tile All Pages" in the Page Scaling menu. Select "Tile Large Pages" if only some of the document is oversized. Go through the options of printing tiles to best select the printing specifications that best work for your document, such as Tile Scaling, Overlapping, Labels and Cut Marks.
Step 3
Use the "Preview" function to properly look at what your printed version will look like. This is the most accurate representation you will see before it is fully printed, so judge your adjustments to printing options off of this image.
Step 4
Cut off the extra pieces of paper from the print outs after being printed. Line up the sheets of paper face down in the order they need to be to assemble the entire document. Use the tape to stick together each tile from the back so no tape is visible from the front. The more spots taped, the better the hold and the sturdier the print out will be.
Video of the Day